

What can you expect from your free 30 days with Thalox Suite?
We’re not here just to give you a list of technical steps for tool usage—that's boring. We aim to lay out the path for you to exploit Thalox Suite’s enterprise-level features to the max, converting Thalox Suite into an indispensable tool in your marketing strategy. Your marketing team will never work the same way again!
So, are you ready to become a Thalox Suite expert? With our guide, you’ll see that it’s easy to navigate the tool, and we will provide you with handy tips and recommendations along the way.
Let’s get started!
Finish the onboarding task list
This first step is crucial for performing a robust setup of the Thalox Suite! Like in any marketing strategy, preparation is key. In this case, for a successful Thalox Suite onboarding you need to:
Once you have registered your account, check your inbox! You’ll find a verification code to confirm your account.
Thalox Suite requires access to your HubSpot contacts and their activities. To connect the two platforms, follow these simple steps:
- Once you have created your Thalox Suite profile, click the “Connect” button that will appear on your screen.
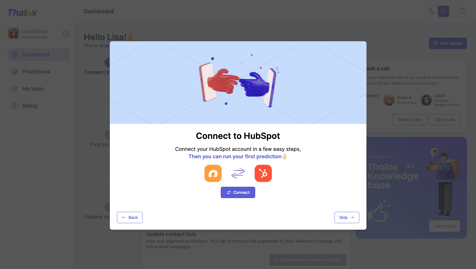
- A pop-up will appear with a “Set up” button. Click here and log in to your HubSpot account, although if you are already logged in to your account, this step may be skipped.
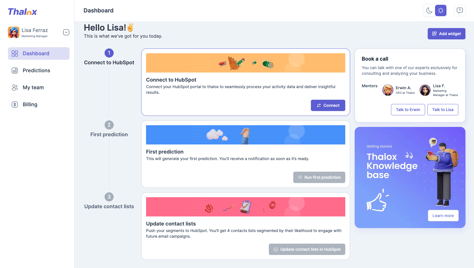
-Once you have logged in, choose the workspaces you want to connect to Thalox Suite and click the checkbox to confirm.
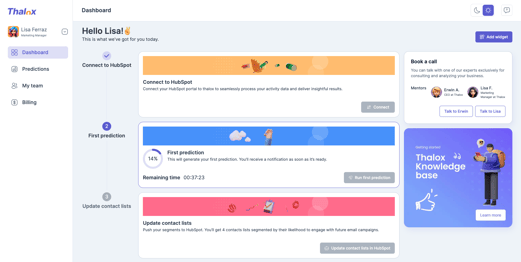
Your first prediction will be launched automatically after you connect your HubSpot portal to Thalox Suite. All you have to do is, press “Run first prediction”, and wait for the results!
The first prediction can take 2-3 hours to extract all your data from HubSpot and give each contact a score. It can vary based on how many contacts and activities your portal has. But after this first run, your predictions will take much less time.
-
Send your segments to HubSpot
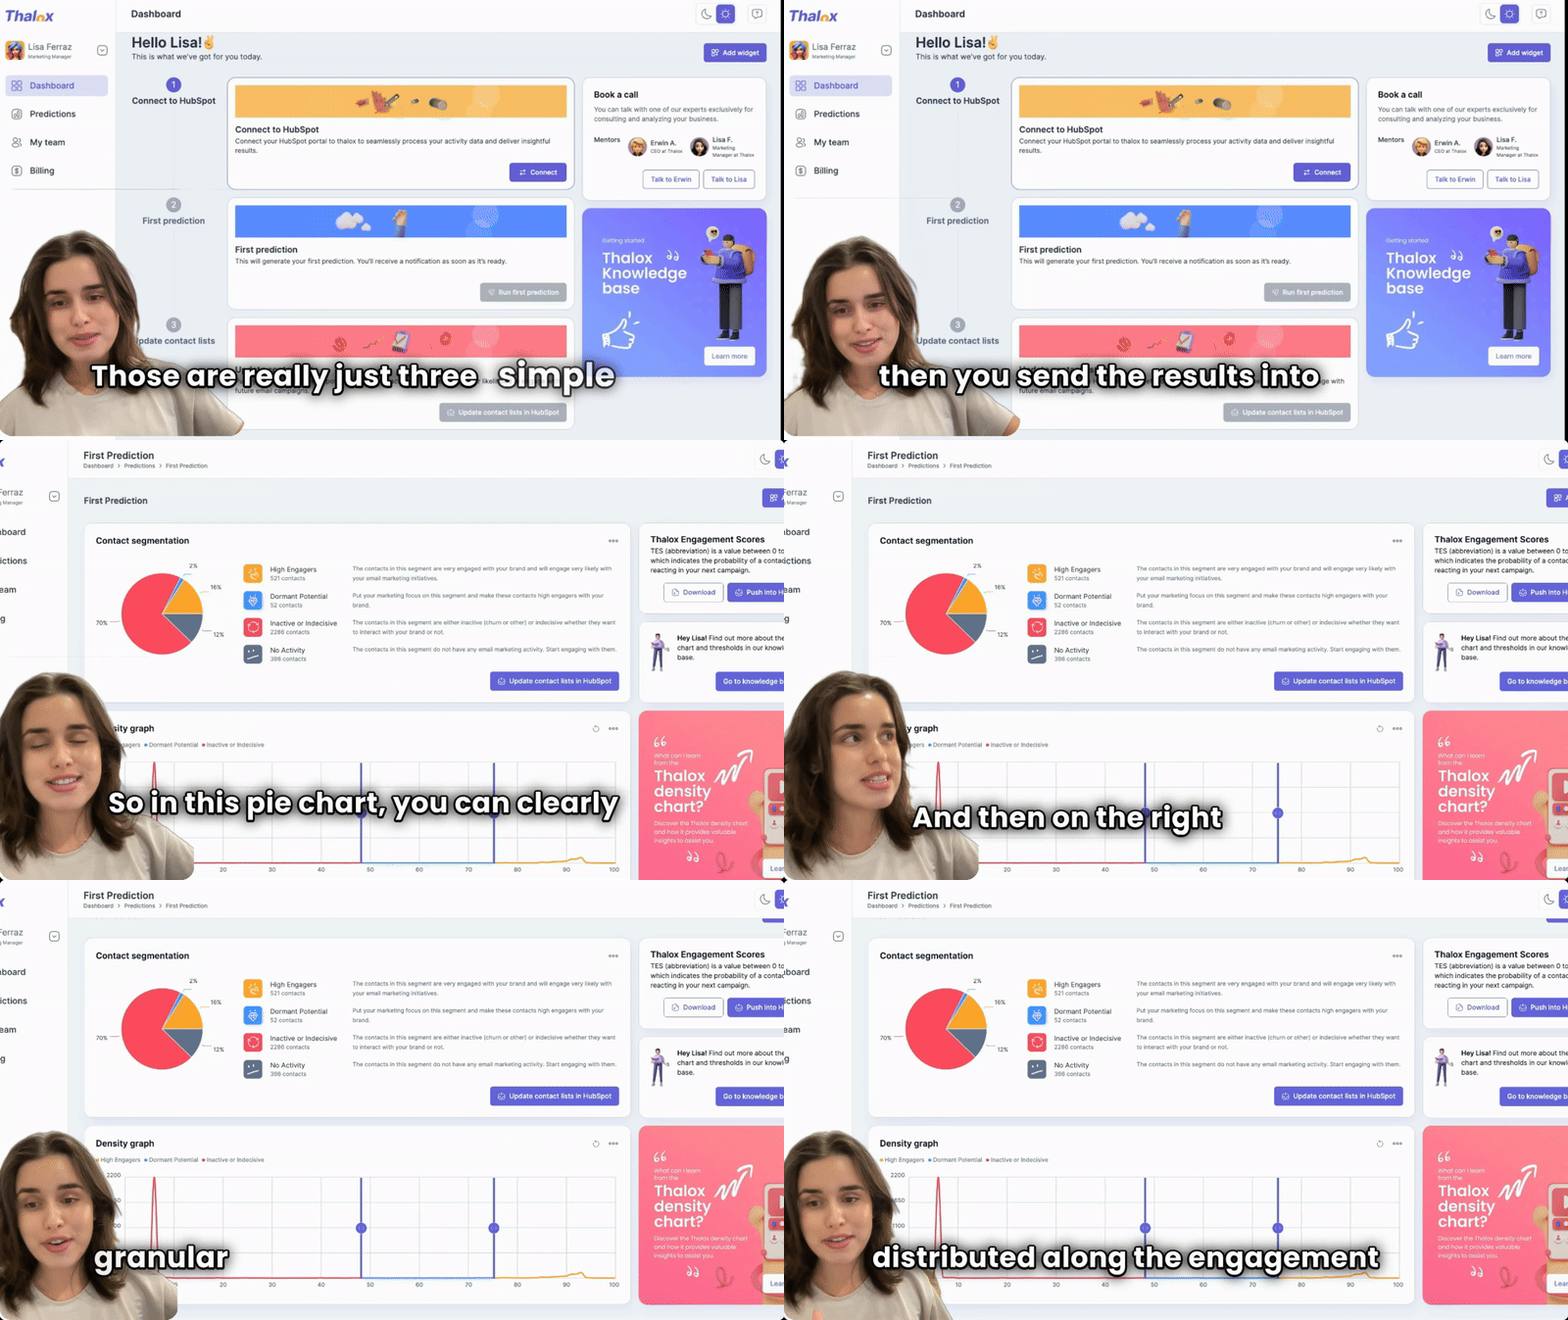
You'll need to push your segments to HubSpot. You'll get 4 contact lists segmented by their likelihood to engage with future email campaigns.
“Pushing segments” to HubSpot means transferring these lists to your CRM. Once you have run your predictions, you can do this through the “push segments” button that will appear.
-
Run a campaign based on Thalox Suite’s engagement segments
Everything is ready for your first email campaign with Thalox Suite! See more in the articles #4 and #5 on running effective and optimized email campaigns.
You can push the TES score to HubSpot and it will create a custom property to store this value. This step is optional, but it will allow you to run more targeted campaigns.
Once you have set everything up and run your first prediction, it’s time to understand what everything means. After all, analysis is often the basis of successful marketing actions.
Click here for the next article about how to interpret your database results.
Updated August 2026